Portainer Introduction: Manage Docker and K8s with Portainer
Learn how to add a local Kubernetes Environment in Portainer


What is Portainer
Portainer is an awesome tool that every Developer should have on their system to help them learn and visualize container systems like Docker and Kubernetes. It is an open-source tool for managing containerized applications. It works with Kubernetes, Docker, Docker Swarm and Azure ACI. Portainer removes the complexities of using the CLI and gives you a visual view of your container environment. What GitHub is to Git is exactly what Portainer is to container environments.
Portainer Community Edition is a completely free, powerful, open-source management toolset that allows you to easily build, manage, and maintain Docker environments. It supports Windows, Linux, and MacOS. You can run it on the edge for your IoT devices as well.
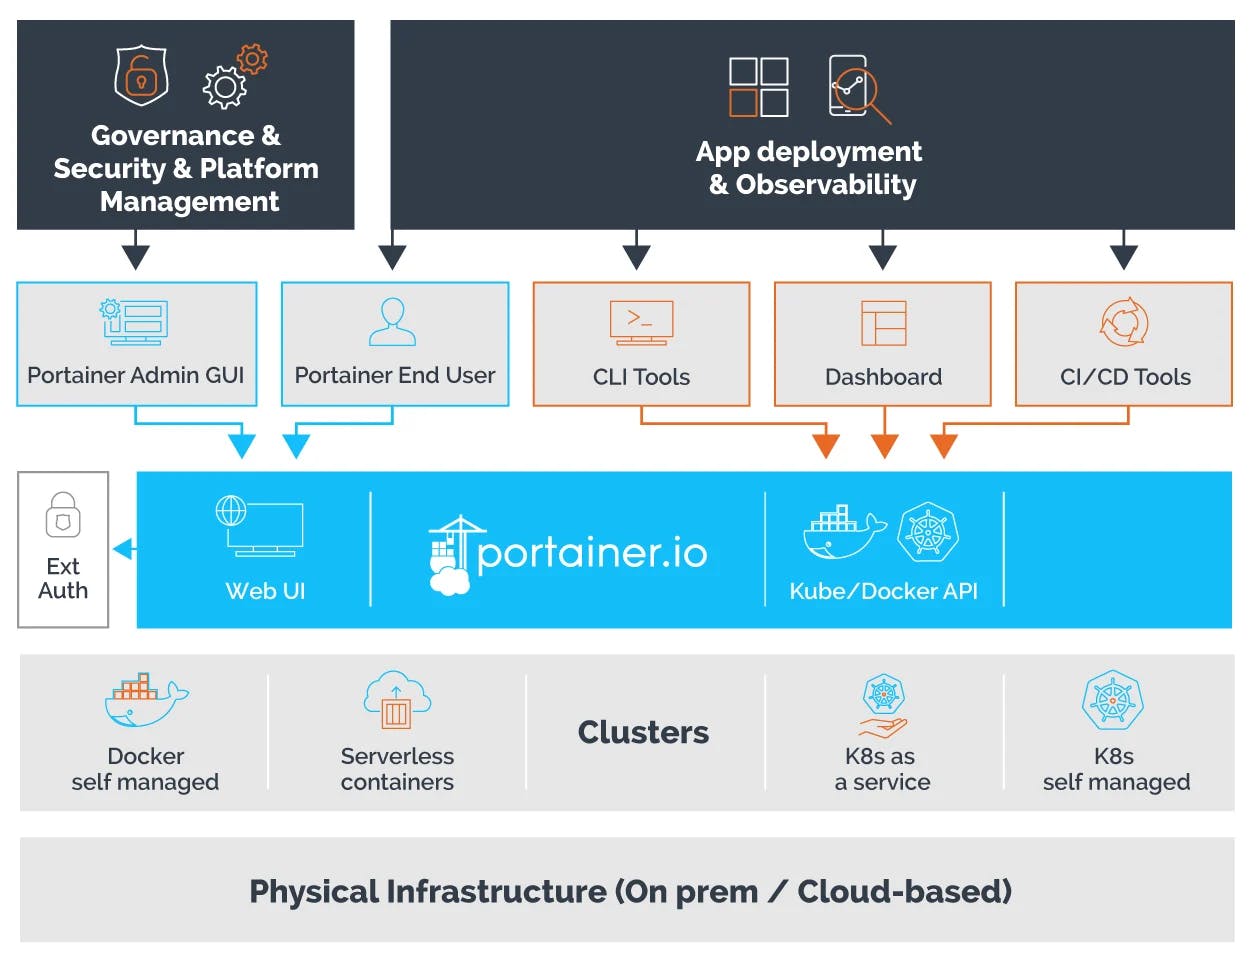
Portainer supports a wide range of features for managing the Docker containers, such as managing the creation and deletion of Swarm services, user authentication, authorizations, connecting, executing commands in the console of running containers, and viewing containers logs and more.
With a single command, you can install Portainer as a container and start administrating your environment. In my opinion, it's one of the best tools to assist you with learning Docker and Kubernetes. It's a very convenient tool for advanced uses as well.
Set-Up Docker Desktop
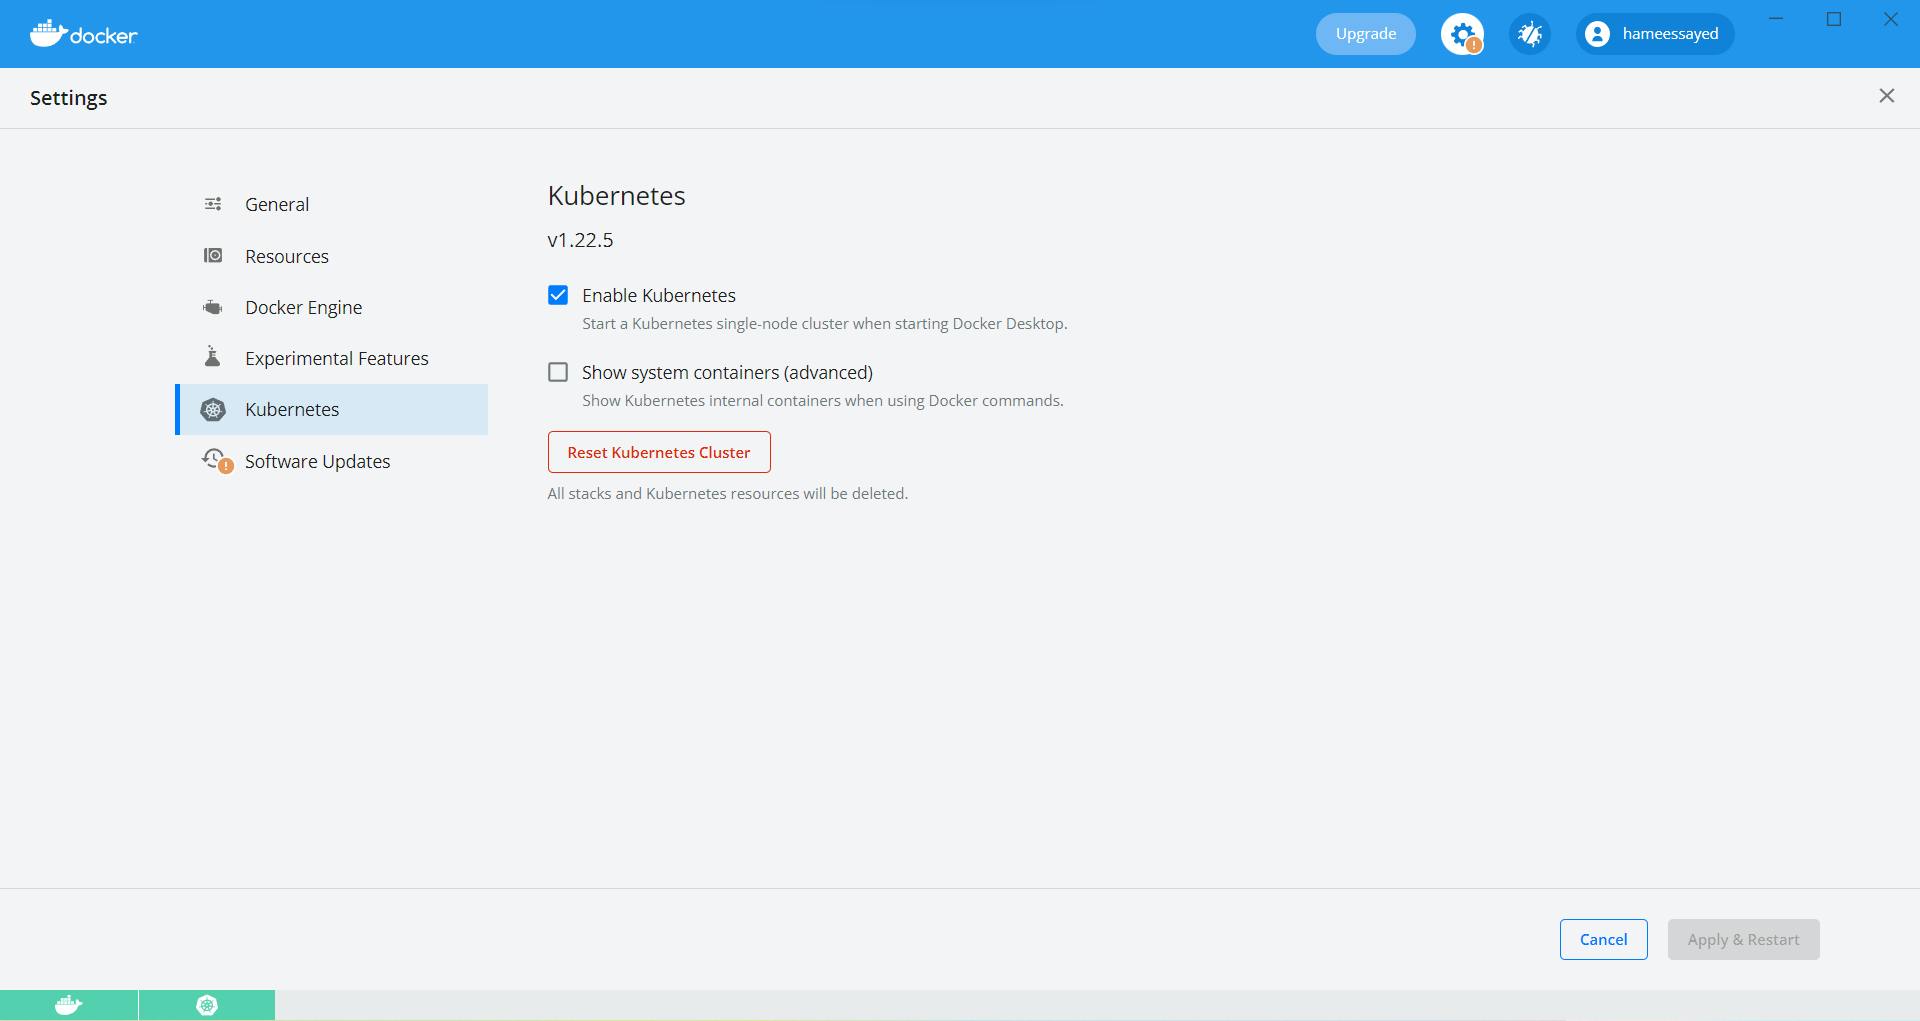
So, you are running Docker Desktop on your Windows PC, and you would like to have a rich, UI to help you deploy, manage and monitor your applications for both your docker-ce instance AND the Docker Desktop deployed Kubernetes instance?
We will assume for the sake of this blog that you have installed Docker Desktop, have enabled Kubernetes and have also set up a kubernetes cluster on your local machine. (In my case I have Minikube installed) Your Docker Desktop Dashboard should look something like this:
Open your terminal, and type kubectl get nodes, you should be able to see all of the Kubernetes nodes that Docker Desktop deployed for you; this is Kubernetes in Docker.

Let's get started with Portainer
Step1: Run the following commands:
Note: I am installing Docker Standalone in WSL, you can follow the installation instruction for your system here: Portainer
$ docker volume create portainer_data
$ docker run -d -p 8000:8000 -p 9443:9443 --name portainer --restart=always -v /var/run/docker.sock:/var/run/docker.sock -v portainer_data:/data portainer/portainer-ce:2.9.3
Step 2: Now go to your browser and type localhost:9443 or simply click here: https://localhost:9443
Step 3: Create yourself an initial user account, set your preferred username and password, then click "create user".
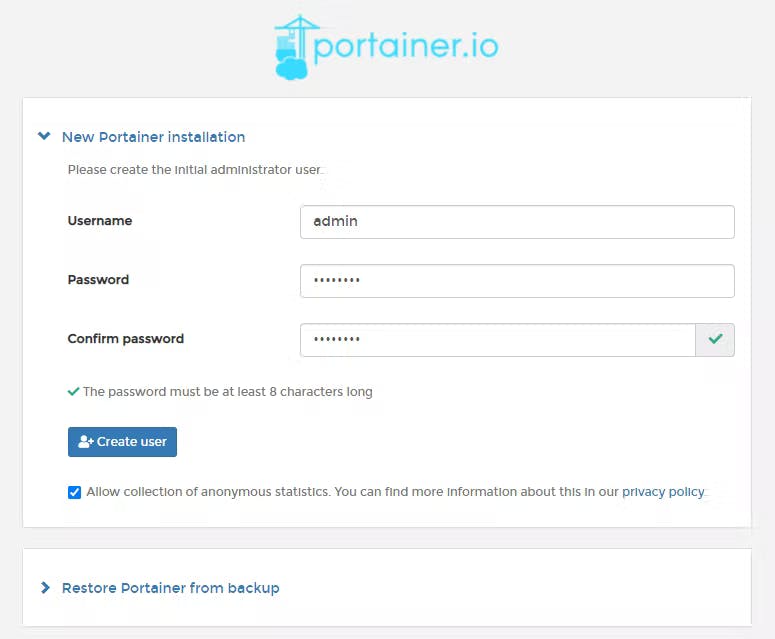
Click on "Get Started" (we will add Kubernetes later)
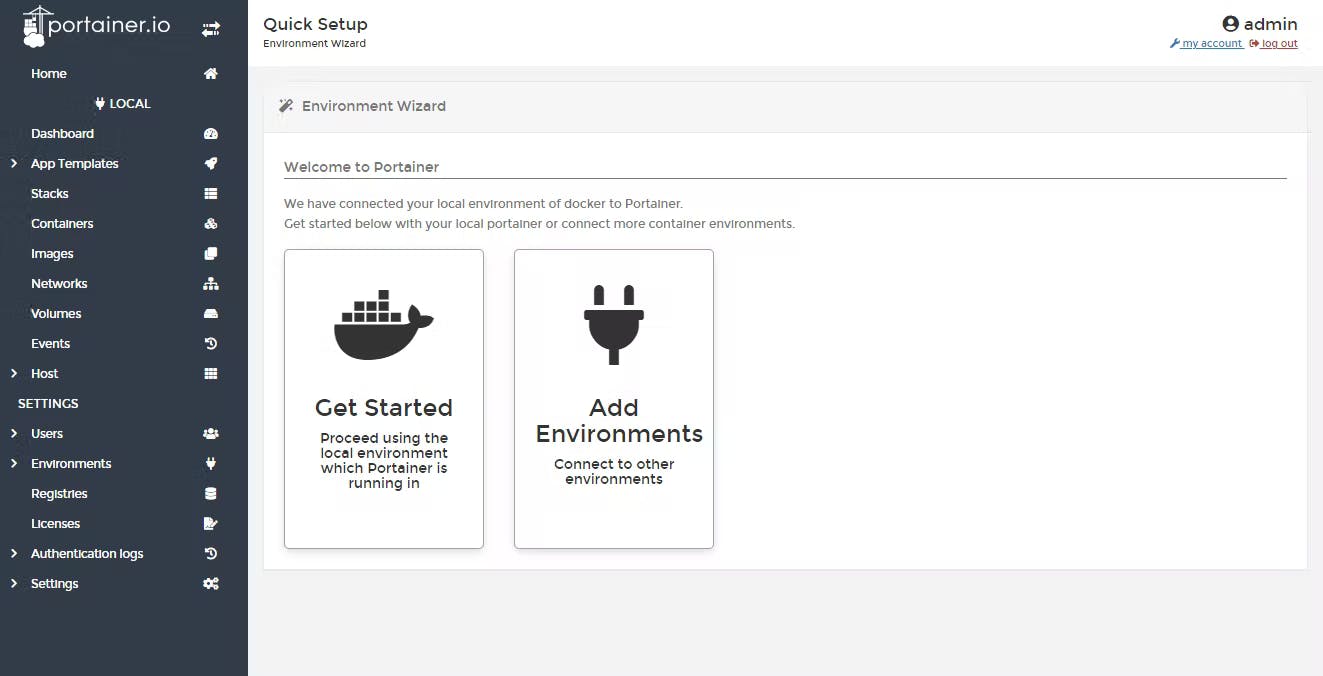
You are now up and running with the Portainer UI managing your local Docker instance.
Step 4: OK, so now let's add the local Kubernetes environment.
From the menu select "Environments" then click "Add environment". Ensure "Agent" is selected in Environment type. You should be able to see something like this:
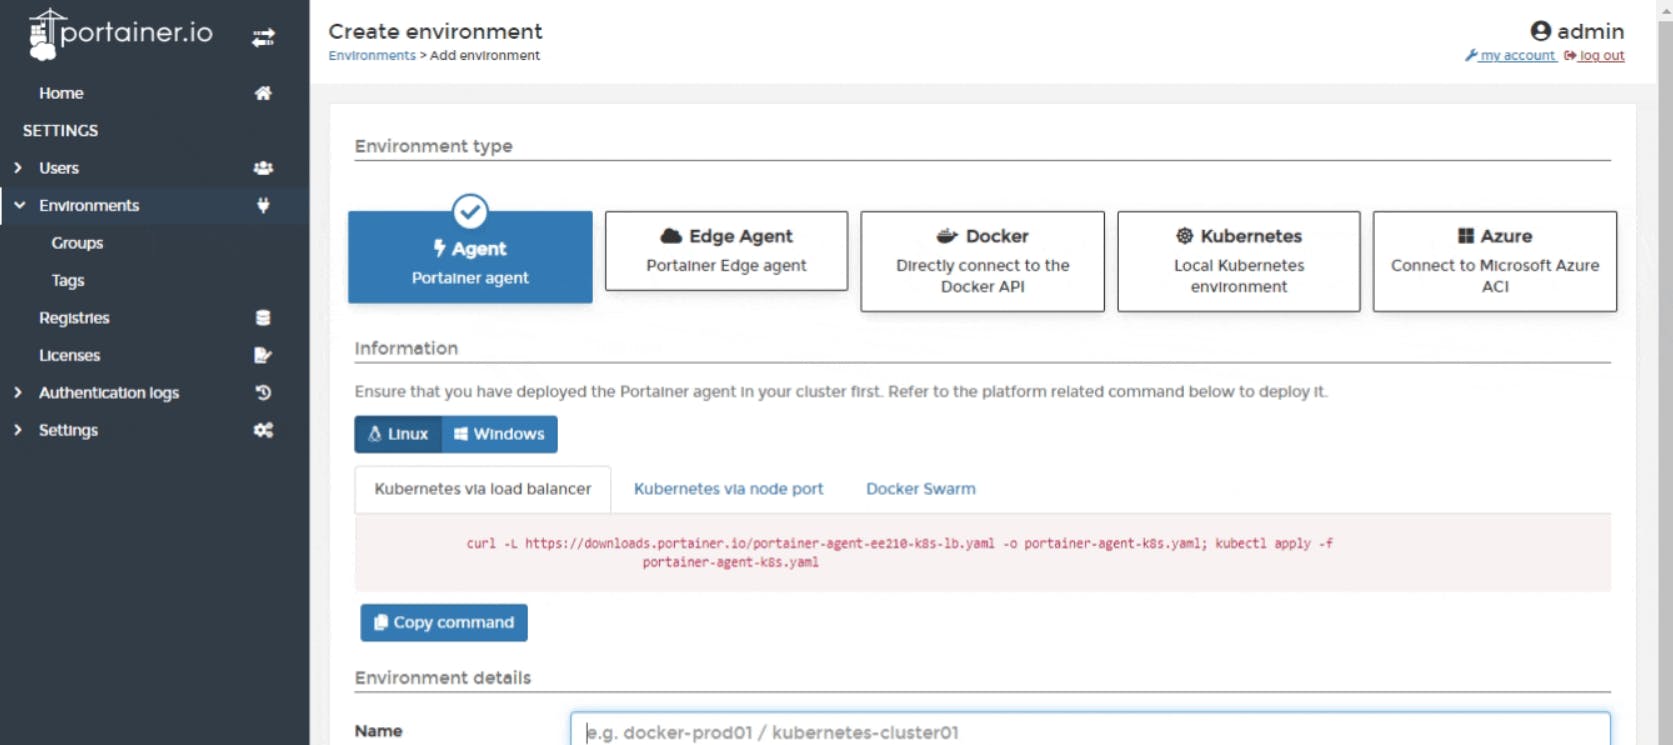
In the "Information" section select the correct operating system for the new environment then select the "Kubernetes via node port" tab. Copy the command, then run it in the terminal. The deployment command will return something similar to this:
serviceaccount/portainer-sa-clusteradmin created
clusterrolebinding.rbac.authorization.k8s.io/portainer-crb-clusteradmin created
service/portainer-agent created
service/portainer-agent-headless created
deployment.apps/portainer-agent created
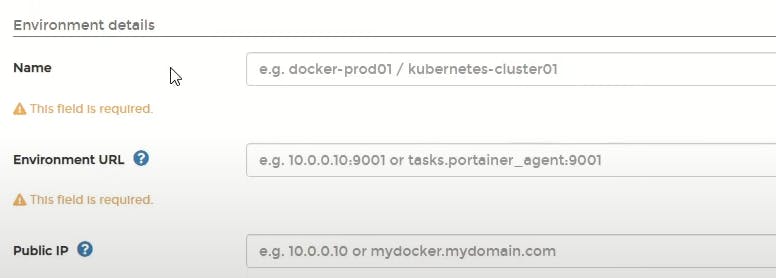
Step 5: Now on the Environment page, you must describe the Environment details.
"Name" could be anything of your choice local-k8s made sense to me, for "Environment URL" enter kubernetes.docker.internal:30778 and for public IP, enter 127.0.0.1, then click "Add environment".
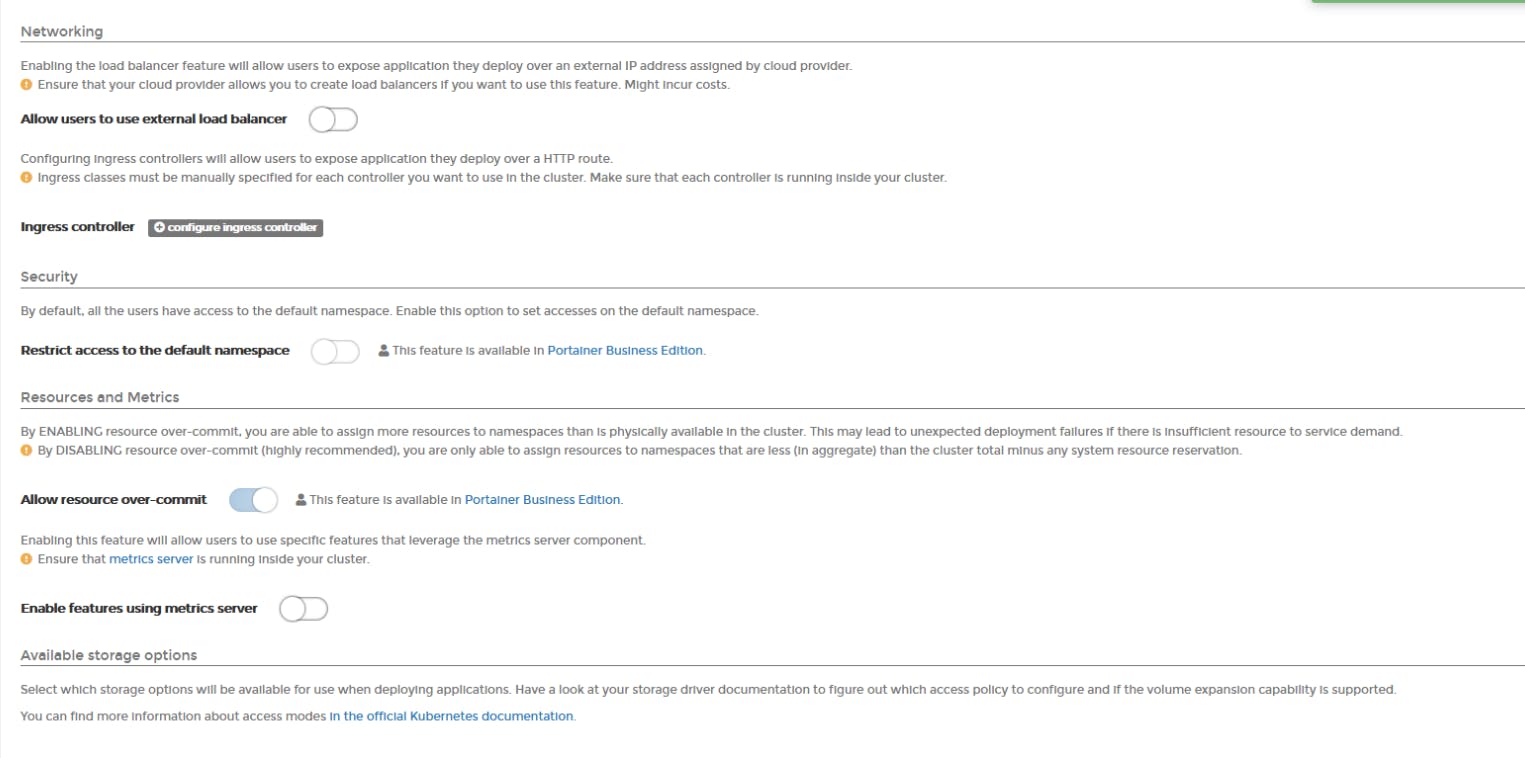
You are now prompted to configure the cluster settings, which is where you define what you want to make available for use in the UI. I'll leave everything DEFAULT for now, Click "Save configuration".
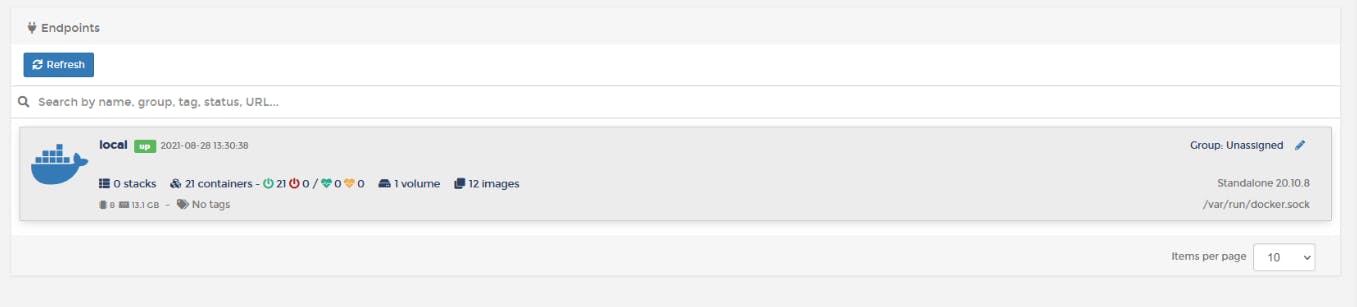
You are now redirected to the "home" page, and you can see your two environments. In the Environments menu, you can manage your environments.
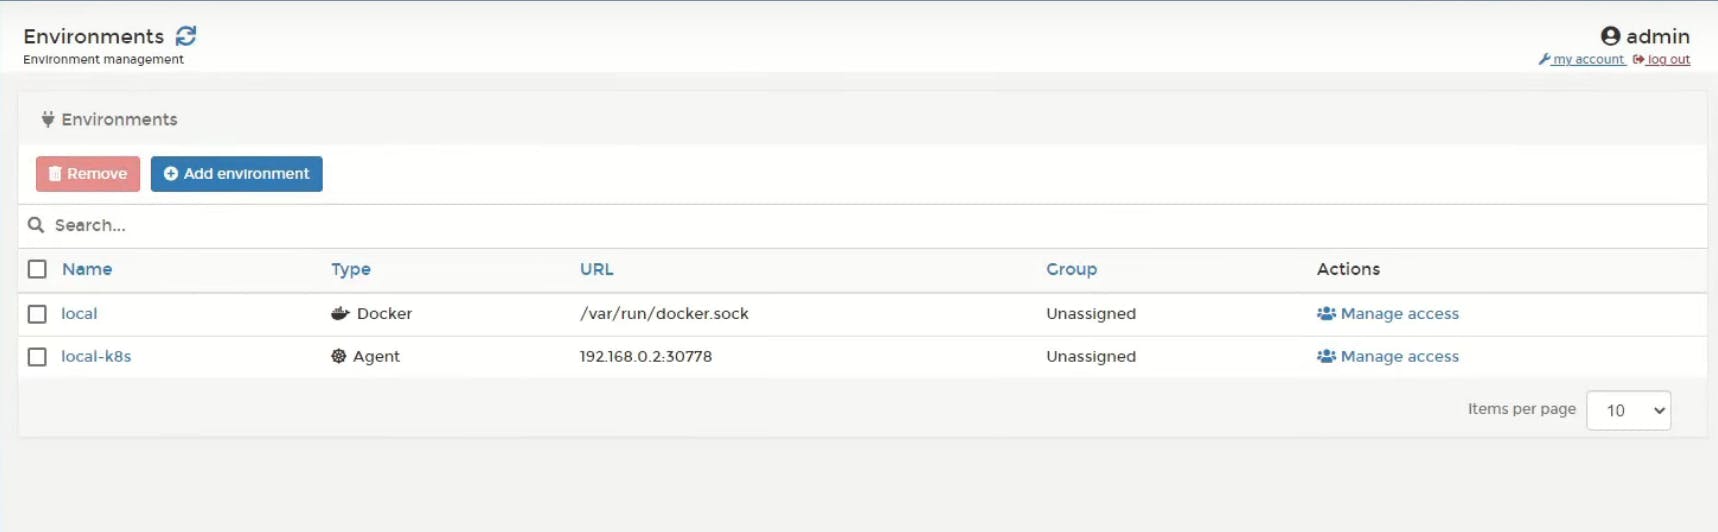
You have now successfully deployed Portainer on your local machine, and configured it so you can manage both the Docker and Kubernetes instances running. Simply click on either of the environments to start using them. 🎉
Thankyou for reading. Do share your feedback!